
How to build a catered lunch menu selection form
One of the perks at Typeform is free lunches. Feeding 180+ hungry people, keeping track of their guests, managing who eats what or who has a day off could’ve been a nightmare. But thanks to a form and a MailChimp integration, everything runs smoothly.
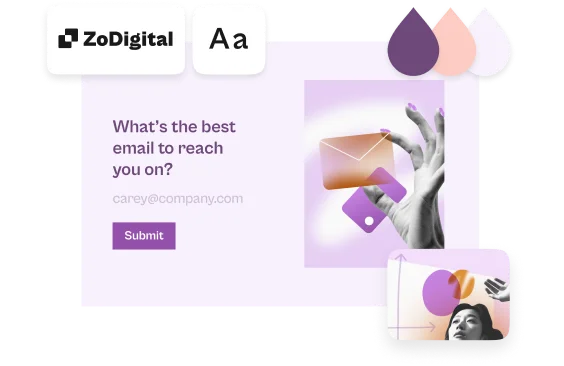
This is what our lunch menu selection form looks like:
To create a similar order form, start building your form:
1. Add a Welcome Screen, like the one in the form above.

Tip! You can also change the button text to something that encourages your audience to select their menu.
2. Add your first Dropdown question with MONDAY as the question text. Enable the Description field, and use it to list your menu options, and to describe each dish in detail. For example, these are our mouthwatering options for Monday:
Tip! Don’t forget to make your questions required. This way you can be sure that people choose their menu for each day, and no one stays hungry because they accidentally skipped a day in your form.
3. Add your menu options as answers to your questions.
As you can see, at Typeform, we have a vegan, a vegetarian and an omni menu every day. We also ask typeformers which office they’ll be having lunch at, and they can choose to skip lunch or only order salad on a given day.
4. Now you can duplicate and edit the menu selection you have for Monday, or create new dropdown questions for each remaining workday.
5. Add the Ending your responders will see after submitting their answers. This is what ours looks like:

This screen is great for instant feedback, but you also want to track who ordered which menu and make sure that people know what they ordered. Read on to see how our Home team does that.
To set up Hidden Fields and Follow-up messages:
1. Enable Hidden Fields in the form and add name, email and last name.
You already know this information about your respondents, and you can use it to identify them or to send personalized messages. You can even set up a MailChimp integration to automatically populate hidden fields in the URL of your form.
2. Now it’s time to set up your Follow-up messages to remind people what they ordered for the week. Add a trigger and select Any response. This will trigger a Follow-up message every time someone completes your typeform.
Then select Send an email to respondents for the action.
3. Select email in the dropdown for which respondents will receive this email. Optionally, you can also edit the Reply to field if you want to allow people to respond to your automated email.
4. Add a Subject to the notification. For example, I receive an email with a “Your lunch is ordered, Reka!” subject line every week. This is great because I just have to check if I have this email if I don’t remember ordering lunch.
5. Now you can start to customize the message in your email. Click @ to recall information from the answers to each dropdown question. This way your respondents will see which menu they ordered for each day in their email.
Since we like to receive feedback about how typeformers enjoyed the menu, we also include a link to a form where they can rate their lunch. As an incentive, we even offer a free breakfast for two to the typeformer who rates the most :)
That’s it: your form is ready to go! You can simply edit the same form to add updates if you have a menu like ours that changes every week.
Check out the Typeform Blog to learn about more ways we use forms!