


Freshdesk integration: Installation and setup
Integrating Typeform with Freshdesk lets you use our awesome interface as a contact form, collecting all the information you need to respond to customer requests. All that information will be sent right to Freshdesk where your Support Agents can deal with them.
What you can do with this integration:
Use a typeform to create new tickets in Freshdesk, by mapping Typeform fields to Freshdesk fields. Typeform can map the ticket Subject, description (body) and contact email to Freshdesk.
Set one default ticket category (eg: Feature request) for this integration.
Note that you cannot currently backfill old submissions
What you need:
- A Freshdesk account (with admin rights)
- A Typeform account
- A typeform with a required Email question and required Short/Long Text question(s)
Set up your typeform
Your typeform will be the contact form for your customers. We recommend making sure the design and text fit your brand - and remember when people try to contact a company, they are often frustrated, so keep your typeform as short and direct as you can. Asking for unnecessary information from a customer when they are looking for help is not a good idea!
Connect with Freshdesk
Once your typeform is ready, we can integrate with Freshdesk.
1. Head to the Connect panel, and scroll or search until you see Freshdesk:
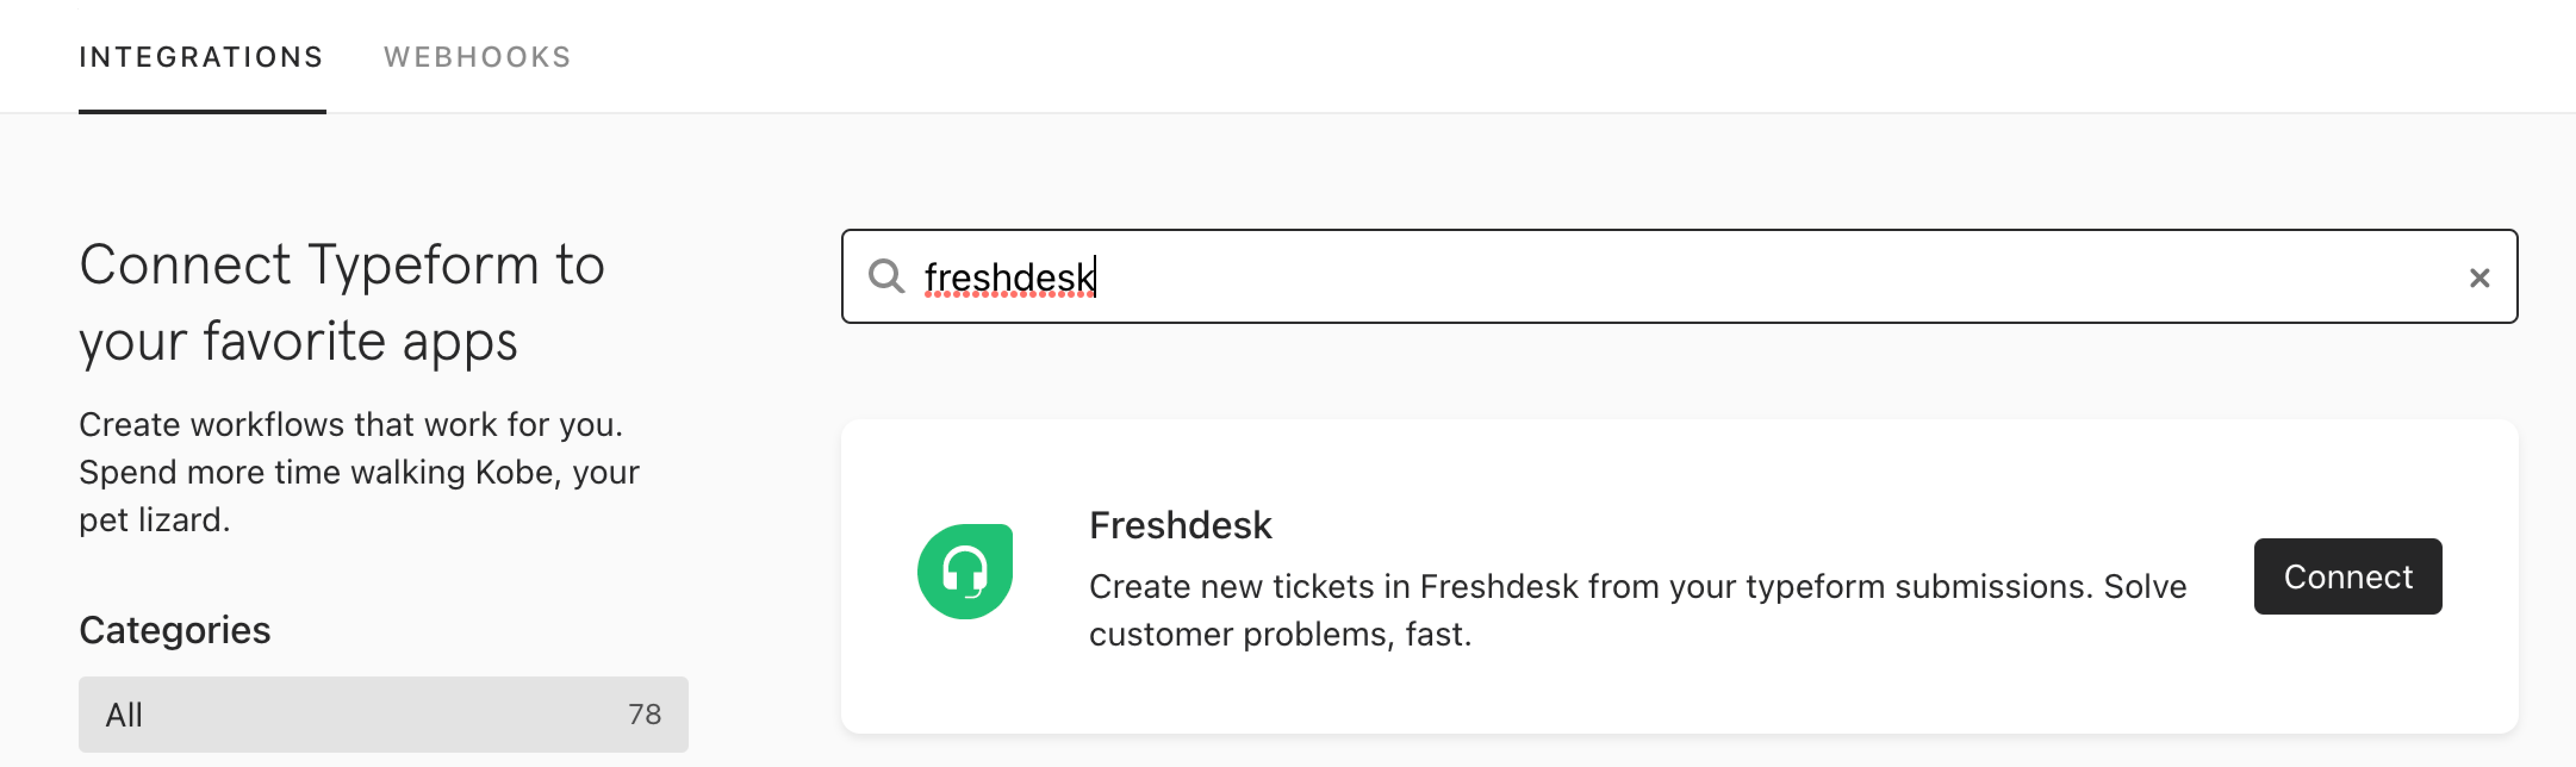
2. Click Connect.
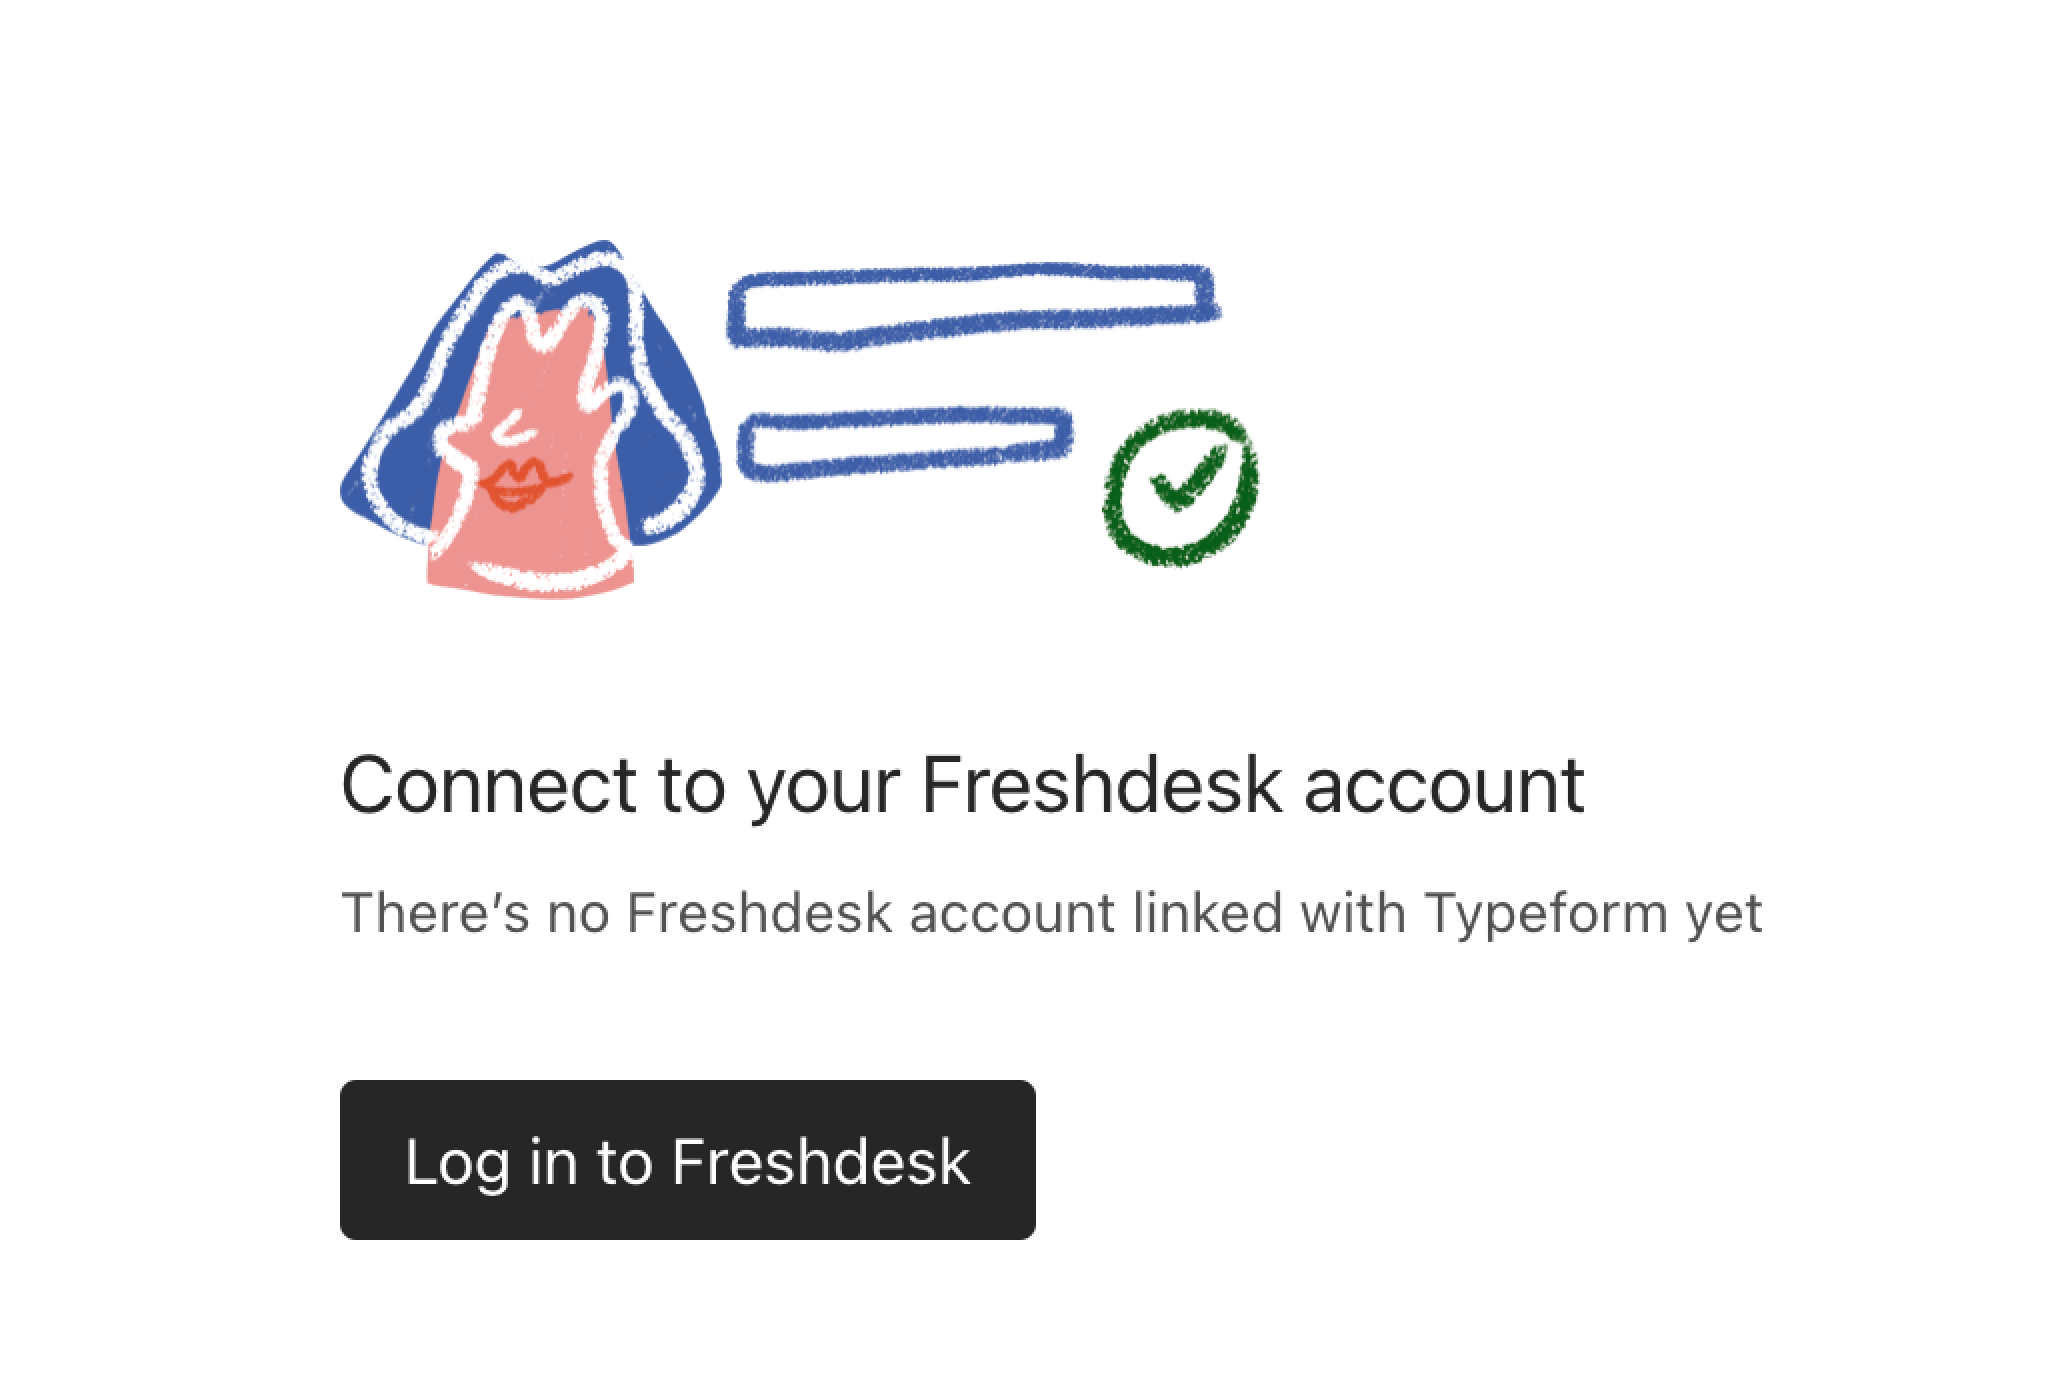
3. Now you'll be prompted to give access to your Freshdesk account, or to choose an account you've previously connected to Typeform:
4. When connecting a new Freshdesk account, we'll ask you for your Freshdesk API key, and the URL of your Freshdesk helpdesk.
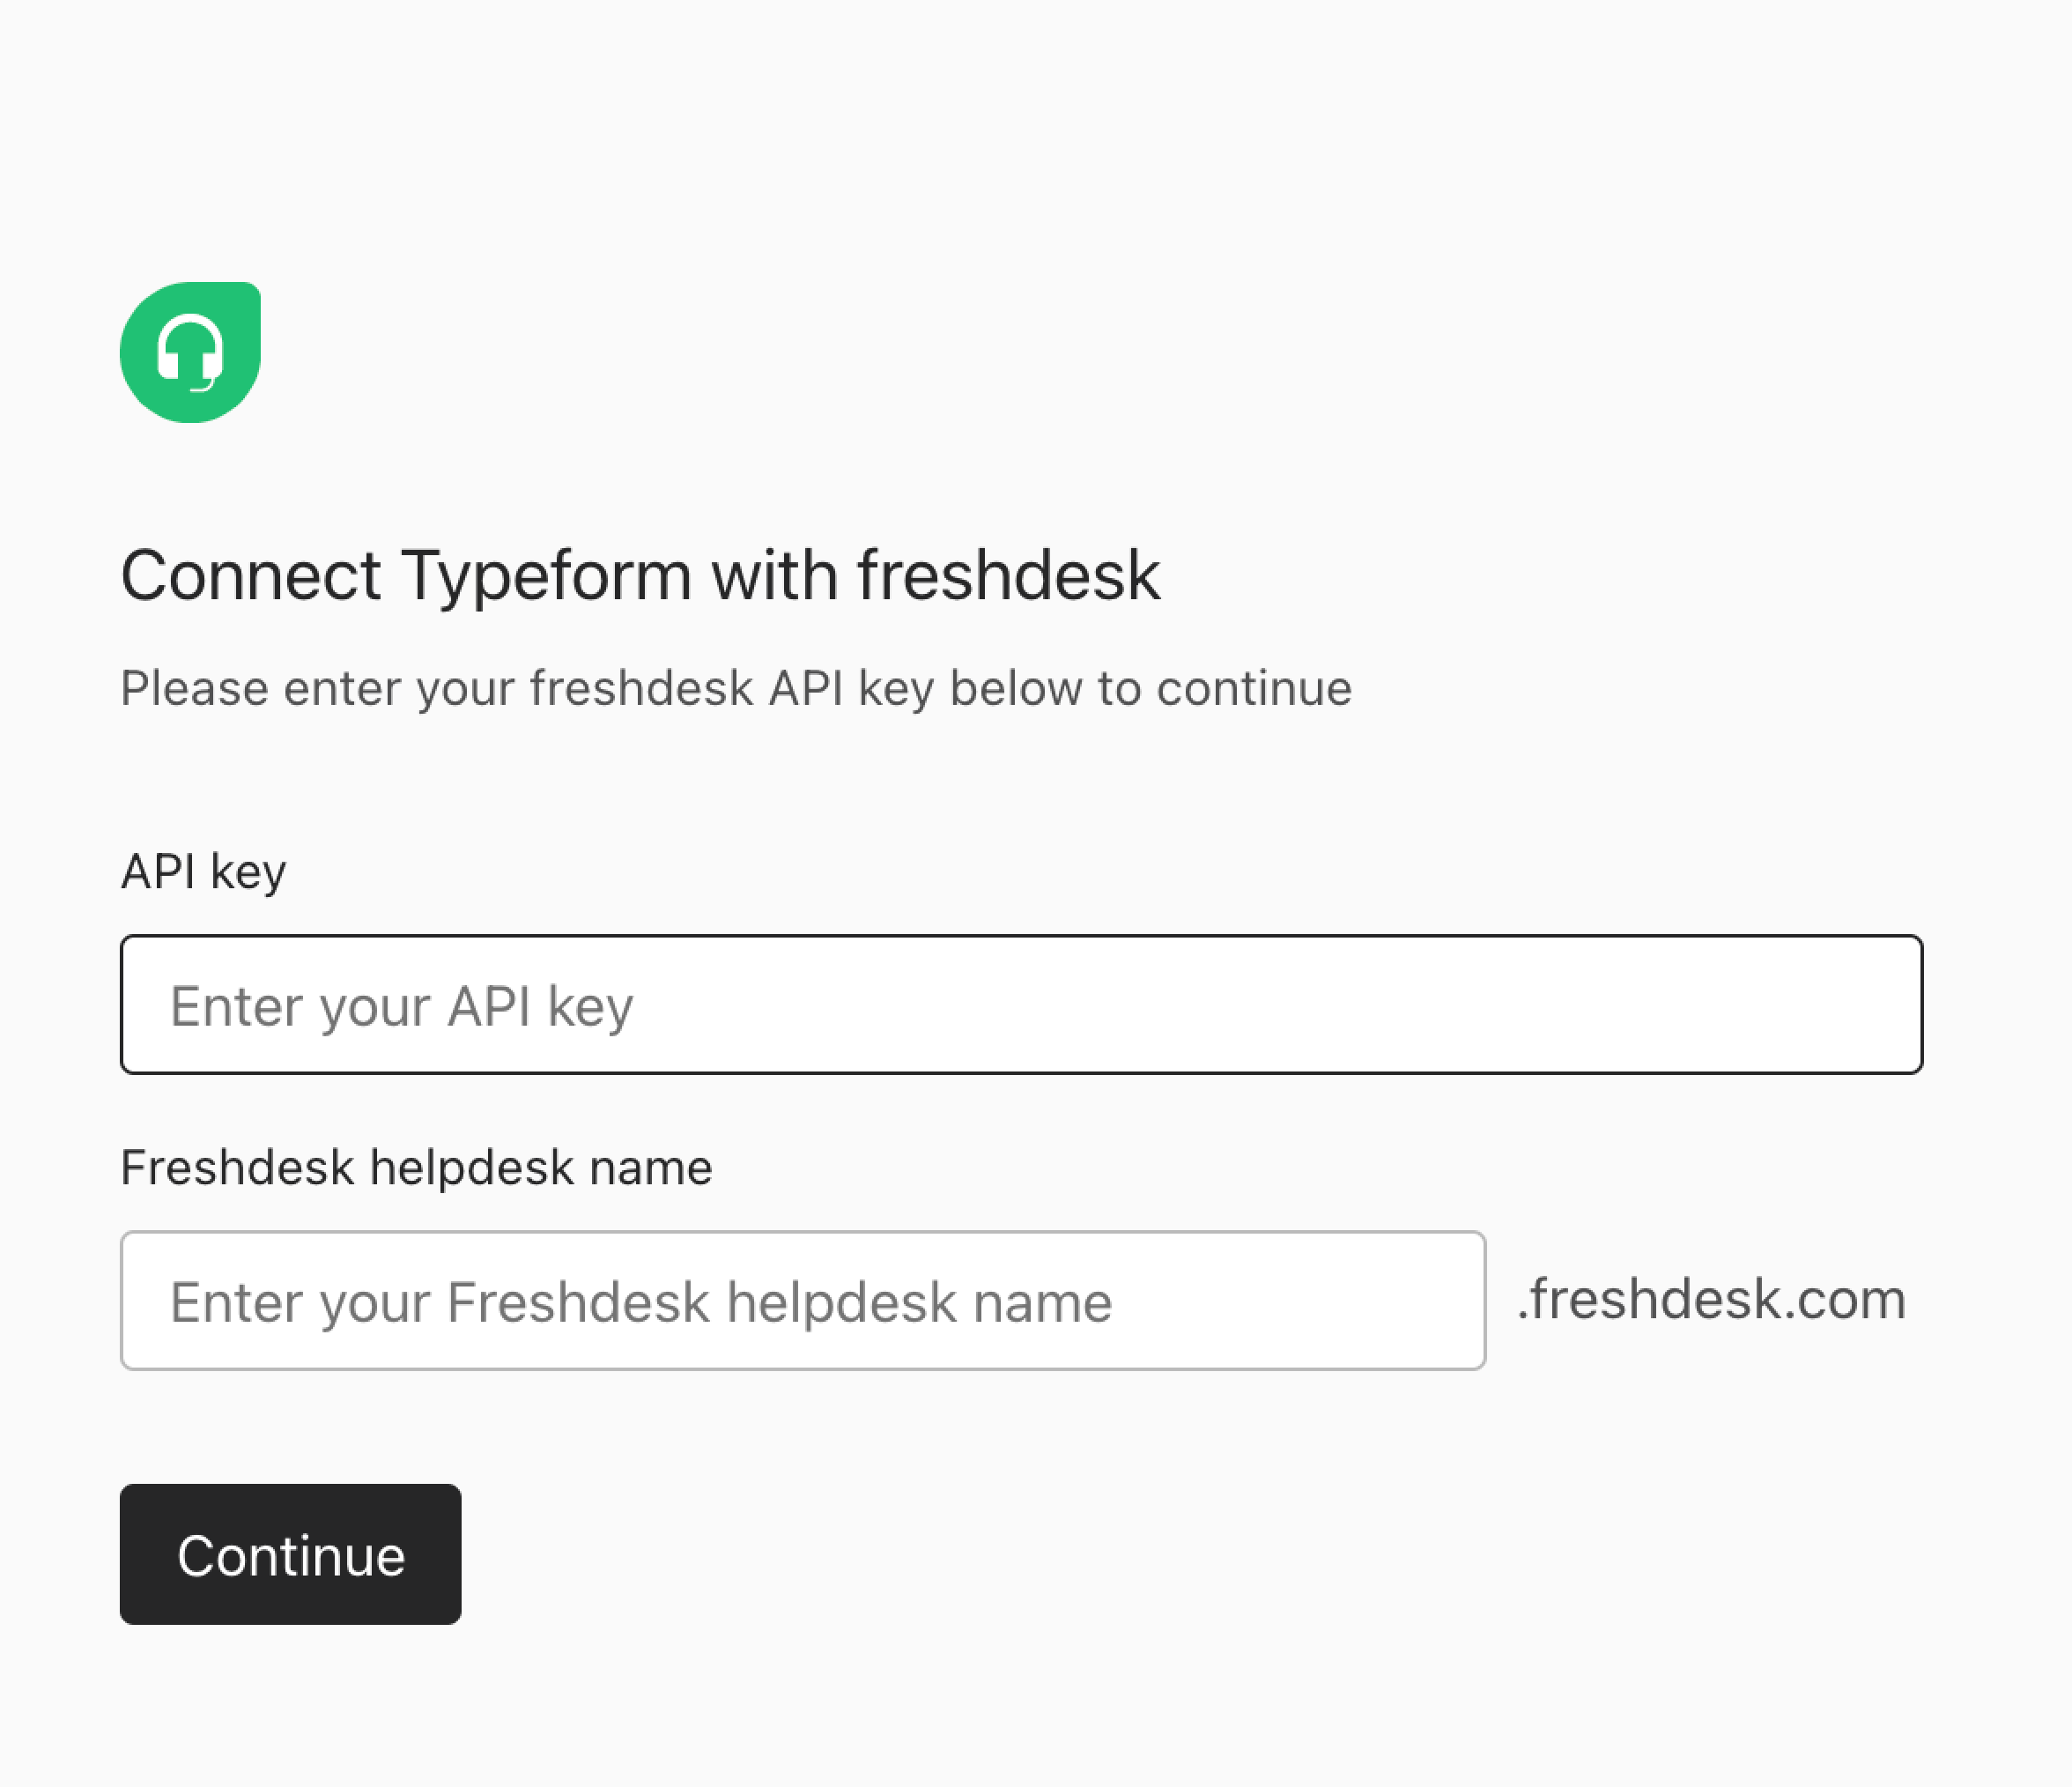
This article explains how to find them. Click Continue once you've entered them.
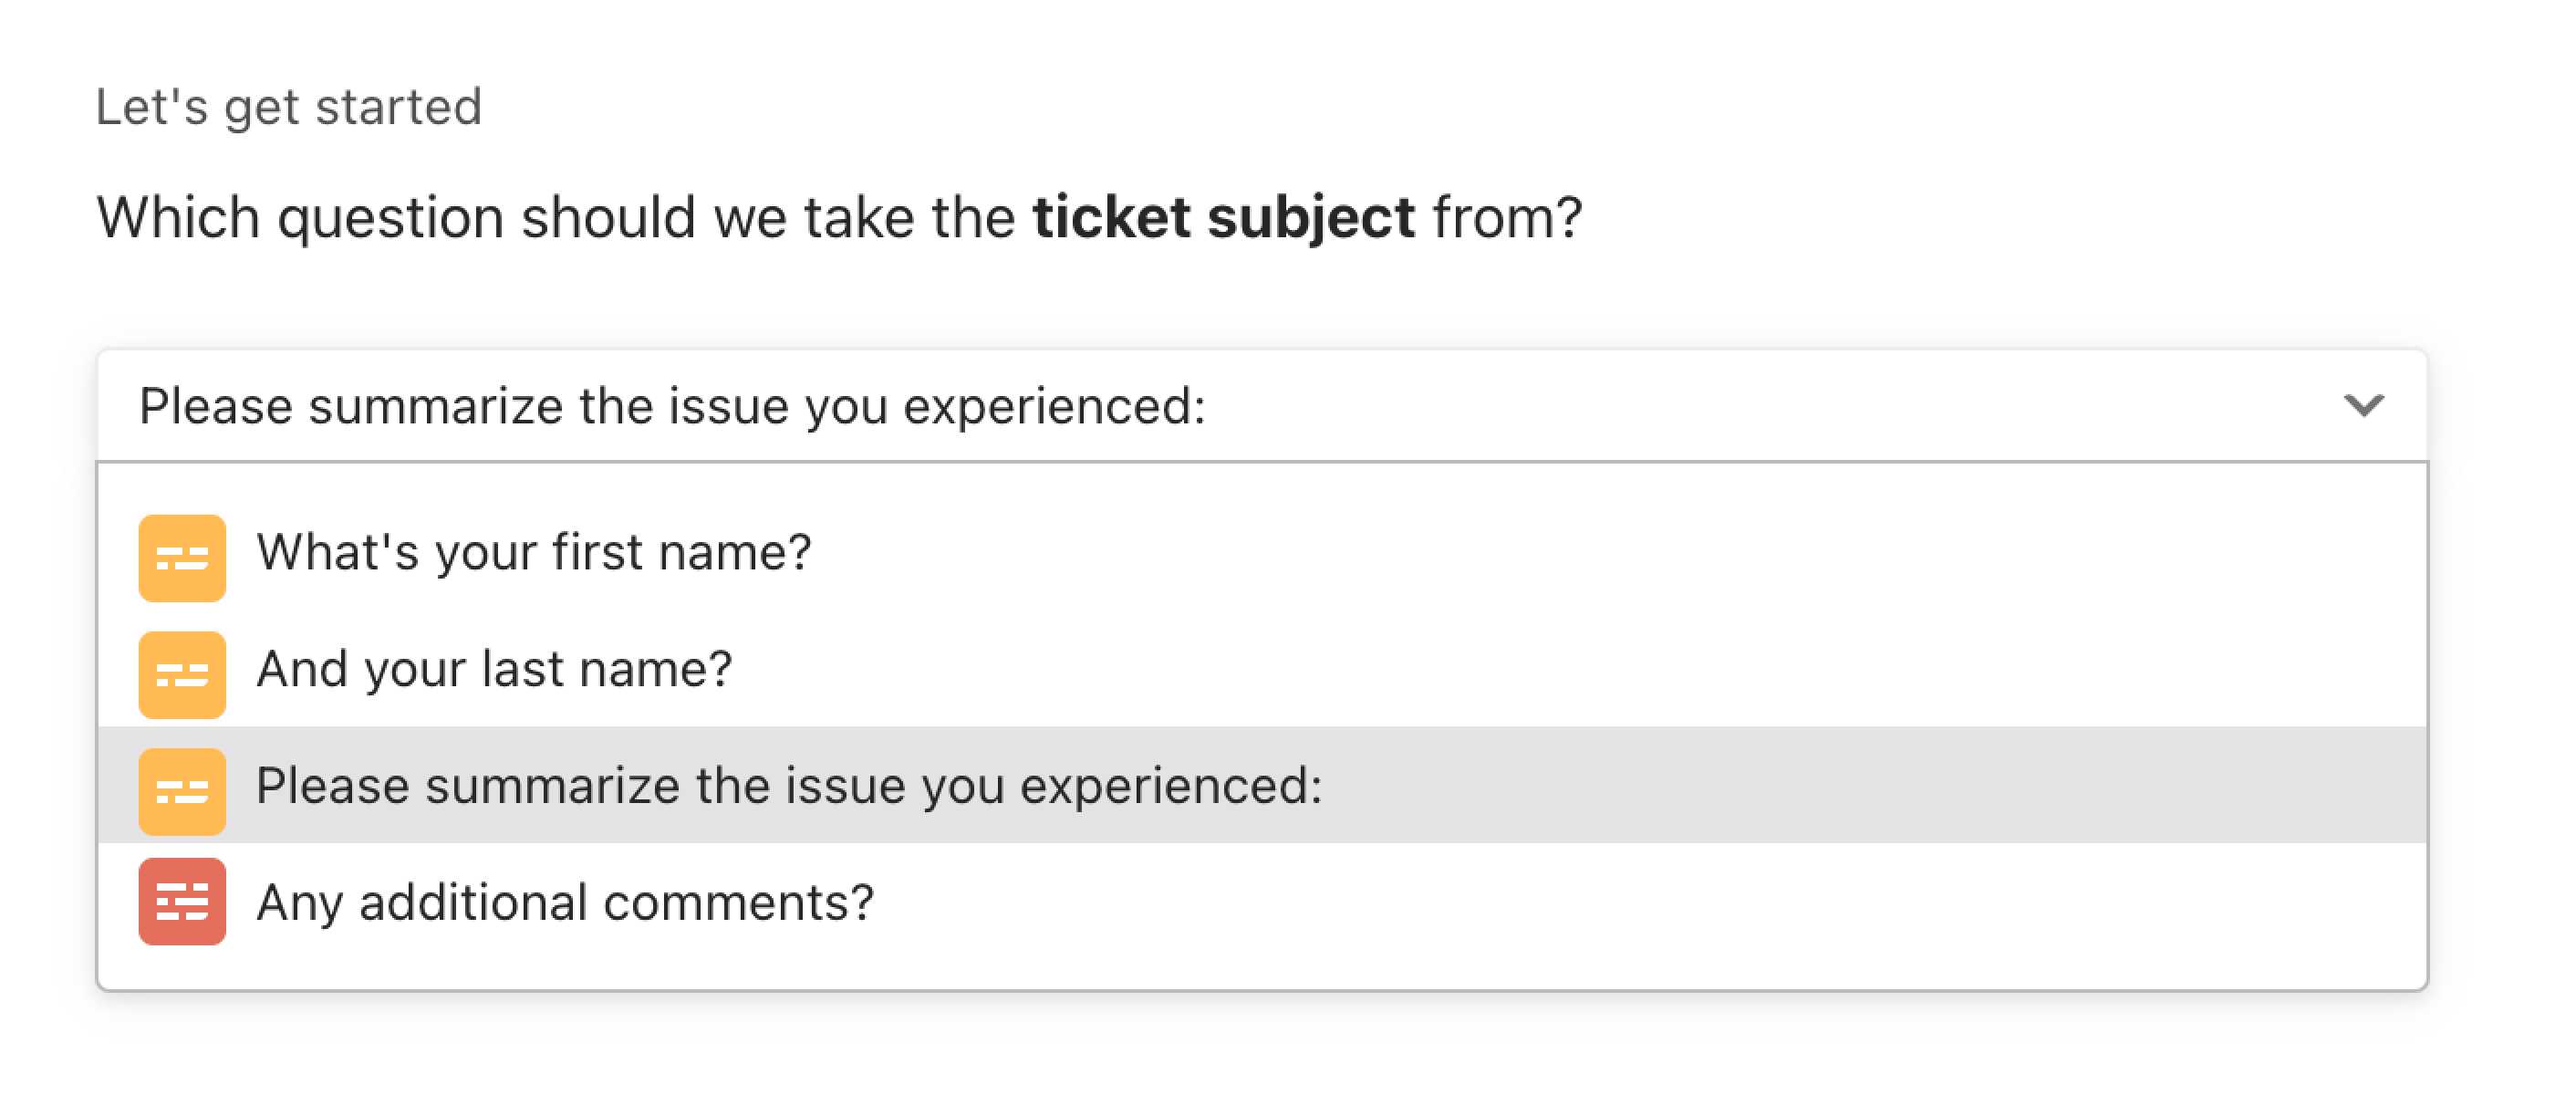
5. Now we'll set up the integration, starting with choosing the question that Freshdesk should take the ticket subject from. Click on an option from the dropdown menu.
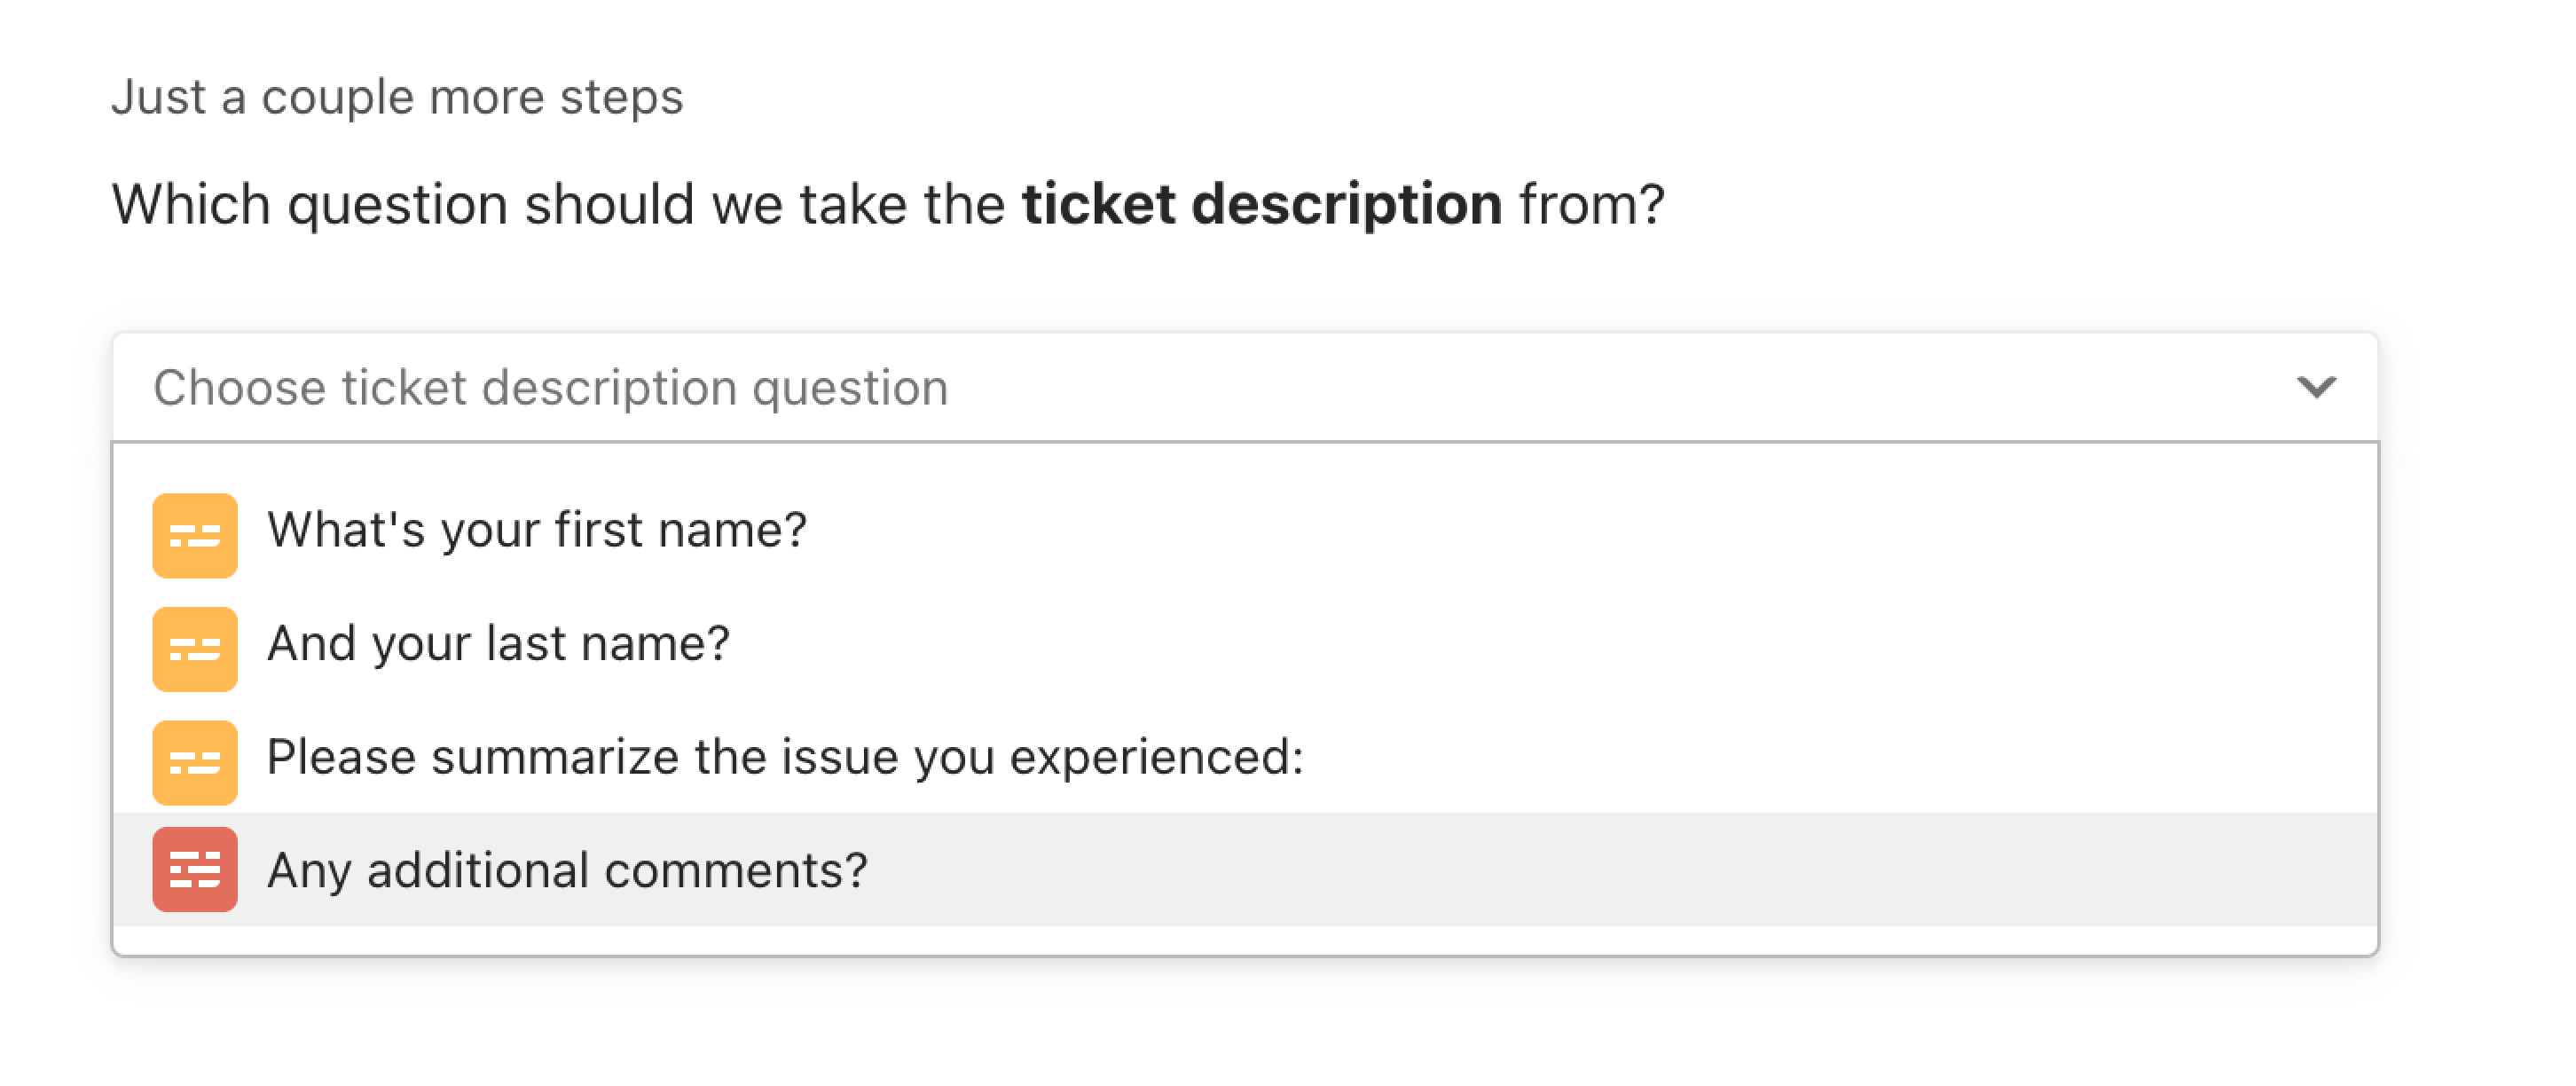
6. Next, choose a question for the ticket description. This should be the main body of your ticket, where you ask customers to describe their problems:
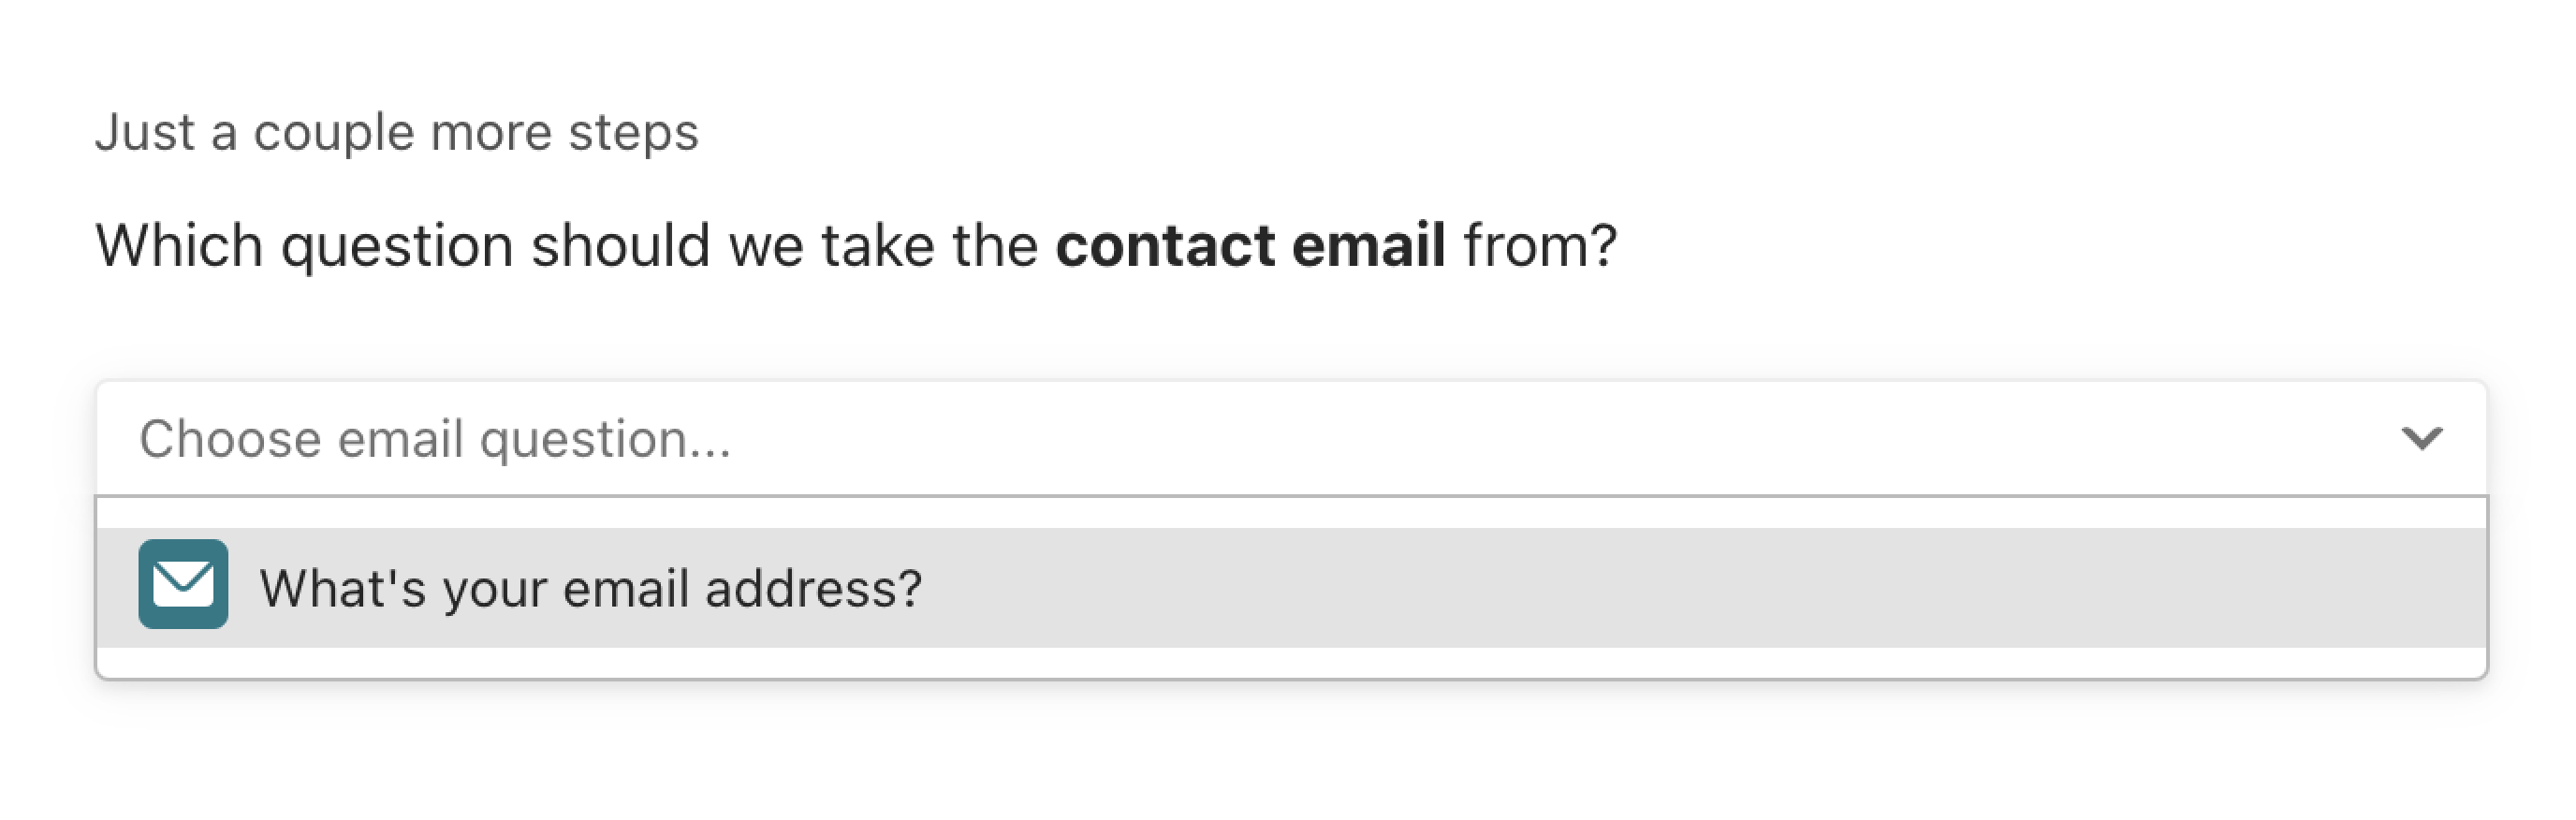
7. Now select the Email question, which Freshdesk will use as the contact for your customer:
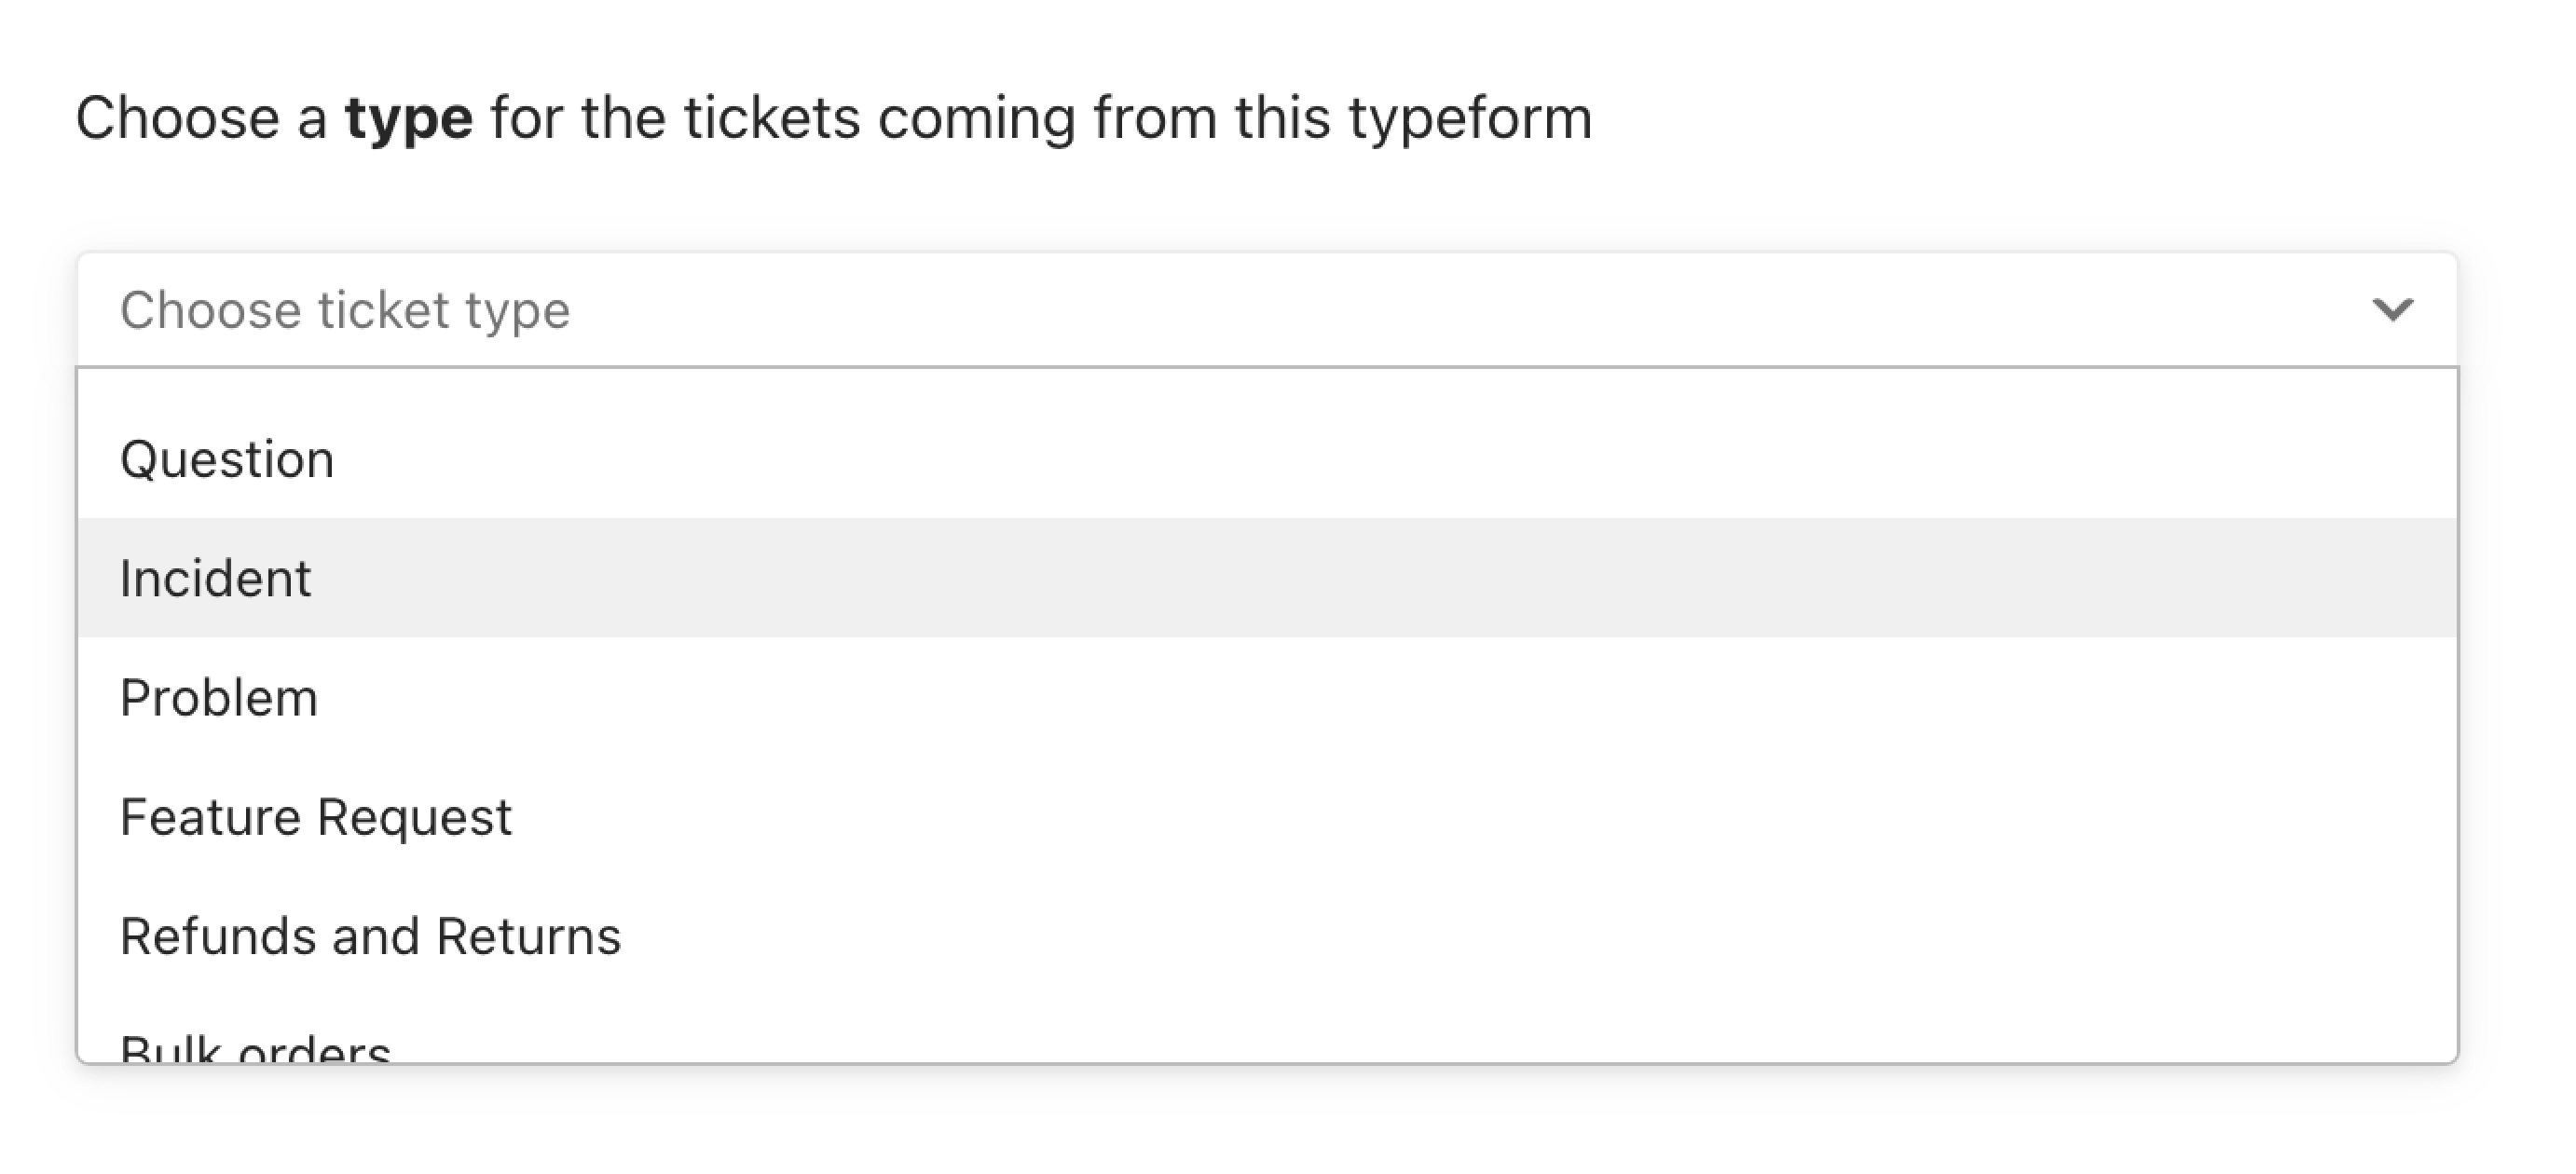
8. Lastly, choose a ticket type. You can only choose one type for all requests coming through your typeform:
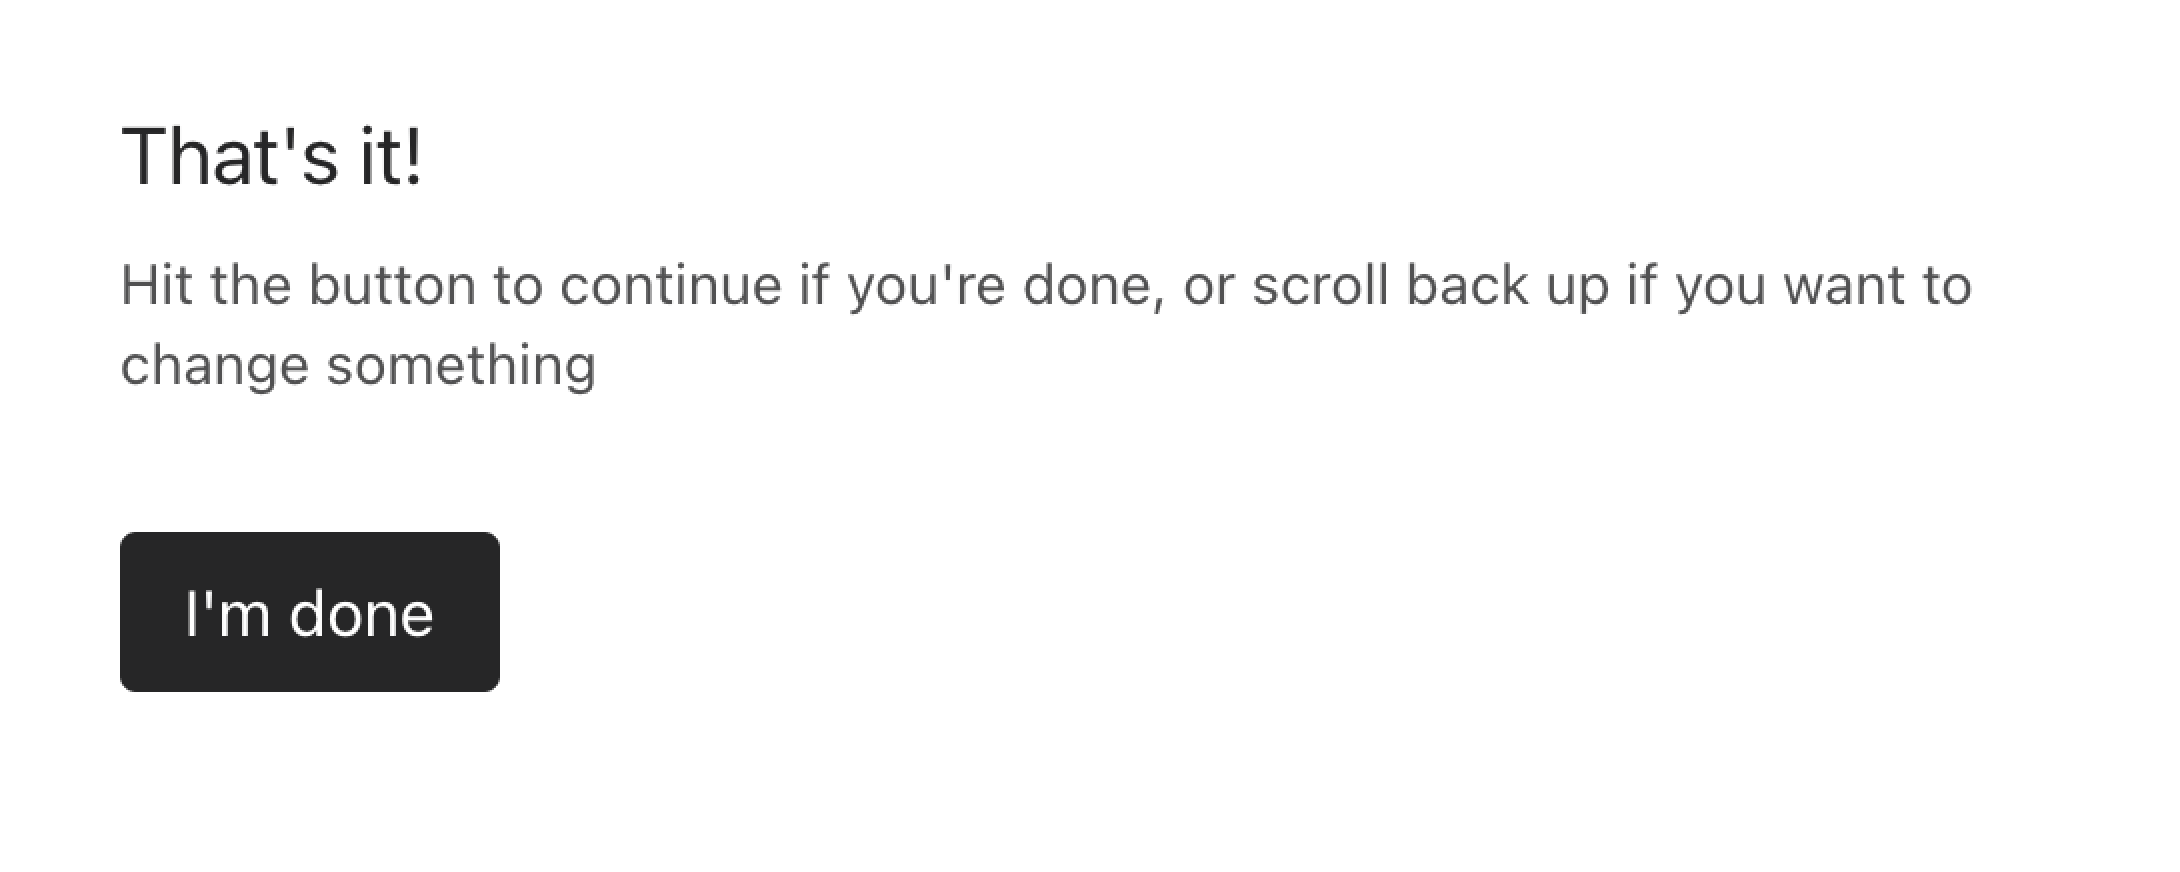
9. Now setup is complete. If you want to make any changes now, you can scroll back. Otherwise click I'm done.
10. Finally. click Activate integration on the next screen, and your integration is now live!
11. Now you'll be back on the Connect page, and the Freshdesk integration will have the toggle activated, indicating that it's live. You can turn it off by clicking that toggle, or click the three-dot icon to delete it:
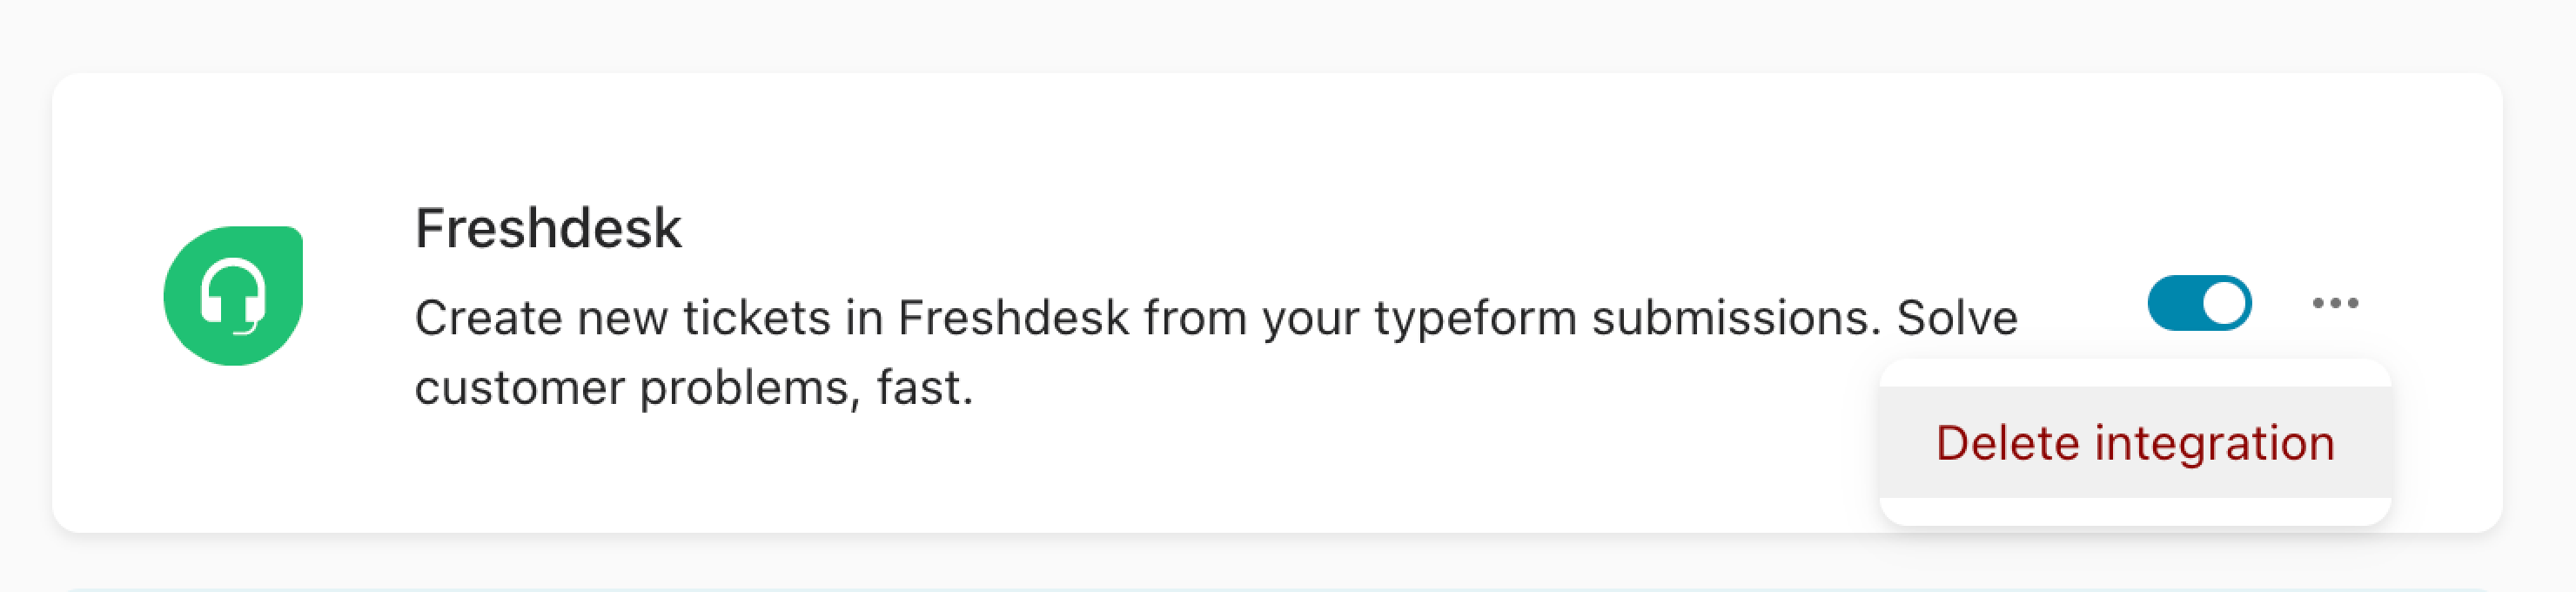
There's no edit feature. If you want to change your integration, delete it and start the setup process again.
You can find the list of all supported field mapping here, and the answers to some of the most common questions about our Freshdesk integration here.